Water Tower 2.0

You might’ve heard about California’s drought. While the rest of the state is figuring out how to use less water, the challenge I’ve had on Serenity Valley this year is the opposite: how to use all the water I have. The 1000 gallon rain barrel I set up last year was full by early February, and was then topped off again in early July thanks to some unseasonable summer showers. Add the 300 gallons in my other tank, and I’ve got 1300 gallons to play with this year. Granted, it isn’t much water at all, but using it up has turned out to be a greater challenge than I expected.

I’m not there much so most of the water is intended to be used to irrigate my garden, which has turned out to be less than trivial. I initially thought I could hook up my drip irrigation lines to the 1000 gallon tank via a timer, but it turns out the timer all but kills the pressure, so the drip heads don’t work consistently, or at all. Using the 50 gallon tank on the “water tower” solves this problem because I can set up the irrigation timer several feet off the ground, which generates enough pressure through gravity. However, since I need to transfer water from the bigger tank to the water tower myself (using an electric pump), those 50 gallons need to last while I’m gone — which can be as long as a month.

One option was to build an automated system to transfer water from the bigger tanks to the water tower. But, automated things are prone to fail, and if the system failed, the 50 gallon reservoir wouldn’t last very long. Plus, the “water tower” was starting to show some age, being made of untreated 2x4s and having been exposed to the elements since 2010.

So, clearly, what I needed was a bigger, better water tower. I’ll let the pictures tell the story…

IMG_3821.JPG

My 1000 gallon tank was nearly full by early February. Some off-season summer rain then topped it off again in early July… Need to use more water!

IMG_4064.JPG

Experimenting with 2 irrigation lines set on separate timers. One was set to go every 7 days, the other every 3 days. Also, Water Tower 1.0 still on active duty!

IMG_4146.JPG

Garden ’15. This year I have: 2 grape plants, 2 potato bushes, 3 strawberry clusters, one pepper, one cucumber, 2 mystery squashes, 2 kabocha squashes, 2 melons, and 2 tomatoes.

IMG_4143.JPG

Water Tower 2.0 under construction…

IMG_4144.JPG

Water Tower 2.0, standing. The posts are 8ft tall, so the top is about 9ft off the ground. This is also probably the sturdiest structure I’ve ever built…

IMG_4166.JPG

Trash bins make relatively inexpensive exterior-grade water containers. All you need are some bulkhead unions and hose adapters.

IMG_4167.JPG

Trash bins never looked so good! The irrigation timer is a full 8ft off the ground, which drives plenty of pressure to the drip irrigation heads. Some day I might replace the bins and upgrade to a 200 gallon tank, if I have confidence it’ll support 1600lb of weight.

(Radically) Re-thinking Water in the West

IMG_3062

There was an article recently in the NYTimes about the drought in California, and how in Tulare County, “more than 500 [households] cannot flush a toilet, fill a drinking glass, wash dishes or clothes, or even rinse their hands without reaching for a bottle or bucket.” With wells going dry, people are left with no running water, and are living dependent entirely on bottled water or water hauled in from elsewhere. The article describes one family as having spent “hundreds of dollars” on laundromats and disposable dishes. On the other hand, a county emergency services official is quoted as saying “We can’t offer anyone a long-term solution right now. There is a massive gap between need and resources to deal with it.”

As the drought in California continues, and may become worse with climate change, a long-term solution is obviously needed. And, it’s not that there aren’t any solutions. I have neither municipal water nor a well on my property, and even in this drought, I have enough water in my tanks to live off of and even irrigate a small garden.

While there are no silver bullets, here are a few “radical” water conservation techniques I use in my life, that you won’t find in the official suggestions:

  • Rain catchment — Even during a drought, there’s precipitation. Porterville (the town mentioned in the article) receives an average of 11 inches of precipitation from October through May. Let’s say that figure is more like 6 inches in a drought, but if it were collected off of a 1000 sqft roof, that’s 500 cubic-feet or 3740 gallons of water. That may not seem like much, but it’s equivalent to 60 – 100 loads of laundry, or over 2000 toilet flushes (for modern 1.6gpf toilets) or 150 ten-minute showers (with efficient 2.5 gpm heads). Water tanks are somewhat expensive, at $0.60 – $1 per gallon, but it’s a relatively small price to pay to guarantee something you literally can not live without.
  • Be a dirty hippie (or just dirty) — I wash my pants about once a month, I wear the same shirt 2-3 times, I shower about once a week, and I’ve never gotten complaints from friends, girlfriends or coworkers, nor have I suffered any ill effects on my health (there’s even some evidence that exposure to some filth is good for you). Granted, because domestic water use is such a small slice of the overall water pie, this won’t solve the West’s water crisis. But, the less water you can live off of comfortably, the more options you’ll have. If you want to spend 100 gallons per day like most Americans do, rain catchment won’t viably cover your needs. But if you’re happy living off of 5 gallons a day, rain catchment can fulfill your needs, even in many of the driest parts of the country.
  • Composting toilets — According to the EPA, an average American family of four uses 400 gallons of water a day, with almost 27% of it getting flushed down the toilet. So water-less composting toilets could reduce water consumption by a quarter, reduce waste that needs to be processed in sewage plants, while producing valuable compost. Composting toilets are probably impractical in dense dwellings, but it should be an option in more sparse areas, such as those chronicled in the article. Part of the reason it’s not a popular option right now is partially due to the (misplaced) “ick” factor, but also because its legal status is unclear. To help make homes more drought-tolerant, building departments and health officials should not only embrace composting toilets, but should be encouraging it.
  • Eat less beef (and meat in general) — About 80% of California’s developed water supply goes to agricultural use, and a sizable percentage of that goes towards forage and hay for livestock (mostly cows). A pound of beef takes 1799 gallons of water to produce, and in 2012 we consumed 54 pounds of beef per person. In case you’re wondering, at 1799 gallons/pound, that would’ve required 97,146 gallons of water. While vegetarians and vegans might try to tell you to cut out meat entirely, that could be a hard pill to swallow for some of us. But what if we replaced half of our beef consumption with chicken, without even reducing overall meat consumption? Since chickens require significantly less water per pound (468 gallons/lb) than beef, just replacing a half of our annual beef consumption with chicken would reduce our water usage by 35,937 gallons per person per year. Replace 90% of our beef consumption, and that figure goes up to 64,686 gallons. In comparison, shortening showers by 5 minutes a day would only save 4500 gallons over the course of a year (assuming you shower every day, and have a 2.5 gpm head).
  • Don’t play golf (in the desert) — Golf courses account for a disproportionate amount of water consumption for the number of people it serves. The Palm Springs area alone has 57 golf courses that each use a million gallons of water a day. If you love to play golf, more power to you, but I kindly request that you move to a place where it rains enough that the grass doesn’t need to be irrigated.

Ultimately, water is a unique environmental issue in that there is no substitute, and there’s no economically viable way to make more of it. In the coming decades, ensuring water security is probably going to require more than just shorter showers.

Eviscerating a Duck

IMG_3605

Today, I learned how to eviscerate a duck. I worked with a duck that was lovingly raised on a farm, and one that I’d likely seen wandering around. When I encountered it today, it had just been killed and plucked, and it was still warm and soft. As I held its legs, I noticed how the bones and sinew moved under the skin, and I was surprised by how life-like it felt. Going in, I was concerned that I’d feel queasy, but it felt more like a cross between preparing a bird for cooking and a science class dissection. I’m hoping I’ll get the chance to actually slaughter a bird, but this was a good introduction to the process.

Anyway, here’s what I learned (or, at least what I think I learned). Starting with a plucked duck with its head removed:

  1. Remove wingtips and feet.
  2. Make a horizontal cut at the base of the neck, loosen the esophagus and trachea, then cut off both as close to (or in) the body cavity as possible.
  3. Continue the cut around the base of the neck, then peal of skin from the neck. Remove glands around the shoulders. Cut off neck at the base, and set aside.
  4. Flip the bird on its back, and make a wide horizontal cut an inch or so above the anus.
  5. Work your hand into the body and tear or otherwise loosen innards from the rib cage. Take particular care not to puncture the gallbladder. Leave intestines connected to the vent. Once loosened, most of the innards (other than the lungs) should just come out of the incision.
  6. Separate and set aside heart, liver (again, taking caution not to puncture the gallbladder) and gizzard.
  7. Take the gizzard and make a cut around the circumference, and slowly spread open. The inside will contain sand, gravel and possibly undigested food. Remove, and rinse off. Then peal off the yellow stomach lining (but leave the white layer underneath).
  8. Cut around the vent, taking care not to puncture the intestines or cloaca, then remove and discard the remaining innards.
  9. Reach into the body cavity and scrape out the lungs. They are soft, on the backside of the cavity close to the vertebra. Parts of the lungs will be between the ribs, so I found that scraping between ribs from the outside in with the back of my nails helped locate the lung tissue.
  10. Flip the bird on its belly, and locate two bulbous bumps (the oil glands) near the butt, and a hole where the oils are secreted. These are the oil glands. Remove the lumps and the opening.

Thoughts From a Short Visit to Dancing Rabbit Ecovillage


As I sat in a toilet stall in Terminal 1 of the Minneapolis St. Paul airport, I thought to myself, “this is nuts”. There I was, depositing my output in a pool of potable water, about to flush it with even more potable water, to be sent to a treatment plant where the sewage would be processed using electricity generated in large part by burning coal. No part of that made any sense.

Twenty-four hours and a few hundred miles prior to that, I sat similarly in a communal stall, except this one was over a bucket. When I was done with my deposit (lovingly called “contributions” by residents), I had simply covered it up with a bit of saw dust. The bucket would be carried down to the compost heap, and a few years later, the resulting compost would be spread in the garden to enrich the local clay-y soil, which in turn would help produce food to be consumed. That made sense.

When I decided to visit Dancing Rabbit Ecovillage in rural Missouri, I told some friends that I was visiting a “crazy hippie commune.” I wasn’t entirely serious about the “crazy” label, but even I didn’t quite anticipate how sane the place would feel, and how crazy the “real world” would seem once I came out of the experience.

***


Let me step back. In late July, I spent several days at Dancing Rabbit Ecovillage to attend a workshop. Located in north-eastern Missouri, about 3 hours from St. Louis near the town of Rutledge, Dancing Rabbit (DR) is part of a cluster of 3 sustainability-focused intentional communities (the other two communities are Sand Hill and Red Earth farms). Originally founded in the late 90s by a group of young Stanford and Berkeley grads from the Bay Area, the village today is home to some 40 to 70 residents and visitors of all ages, including over a dozen children. They live in accordance with a small number of covenants, most of which are designed to make life more environmentally sustainable, while still allowing for enough flexibility to be accepting of a range of personal preferences in areas such as diet, technology use, spirituality and community involvement.

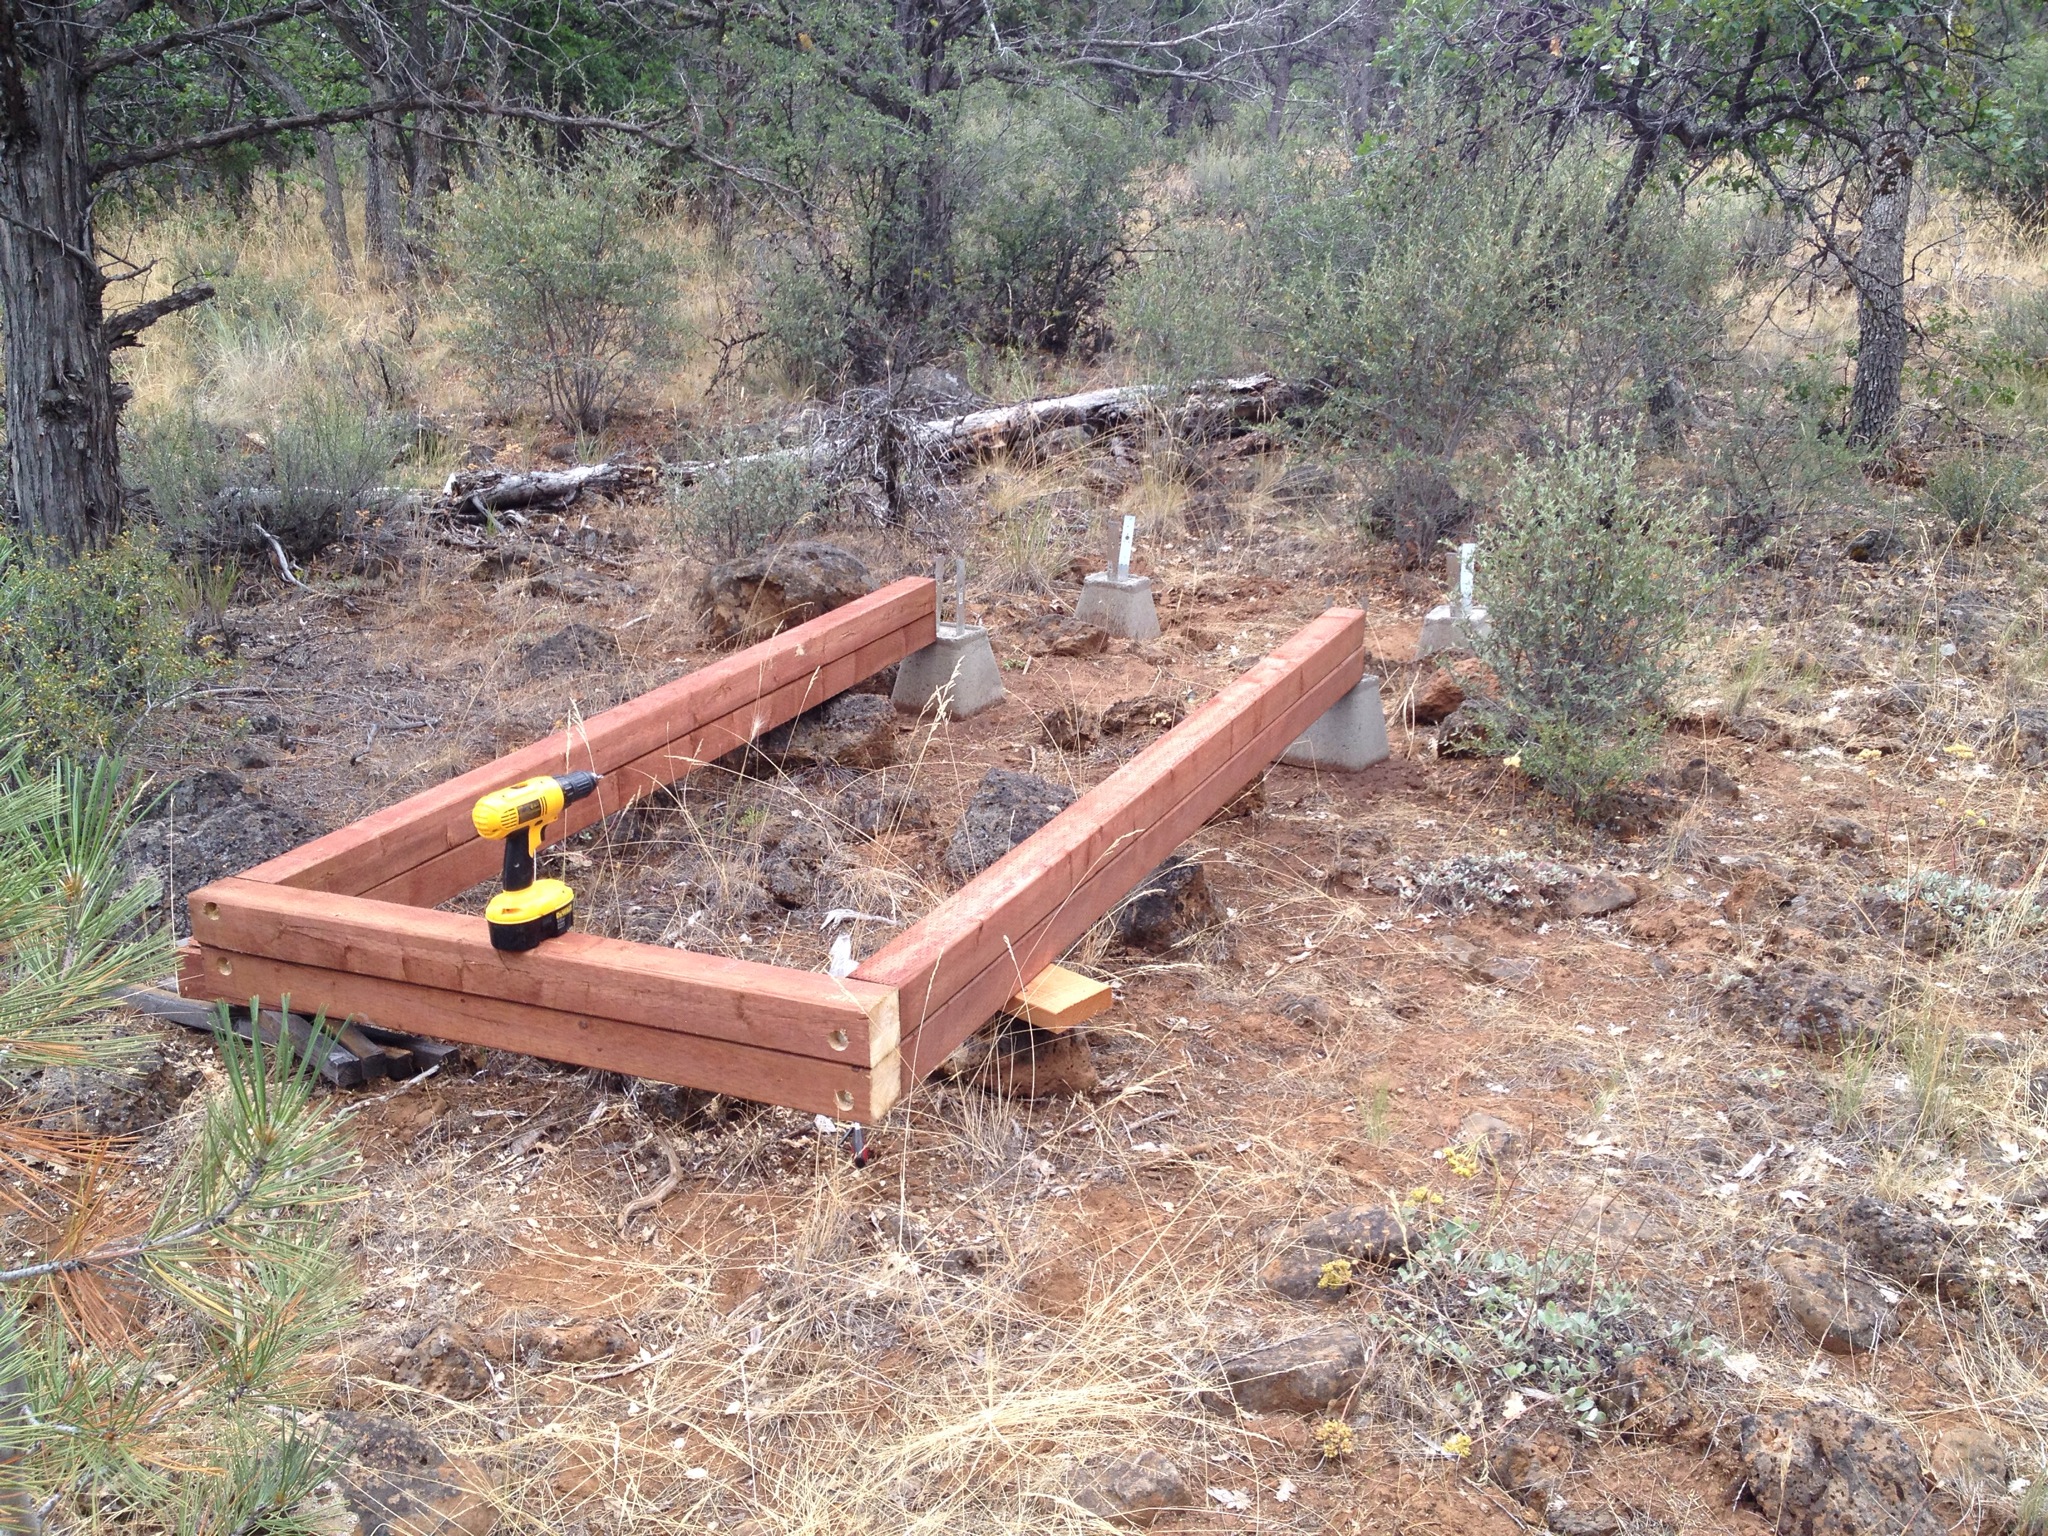
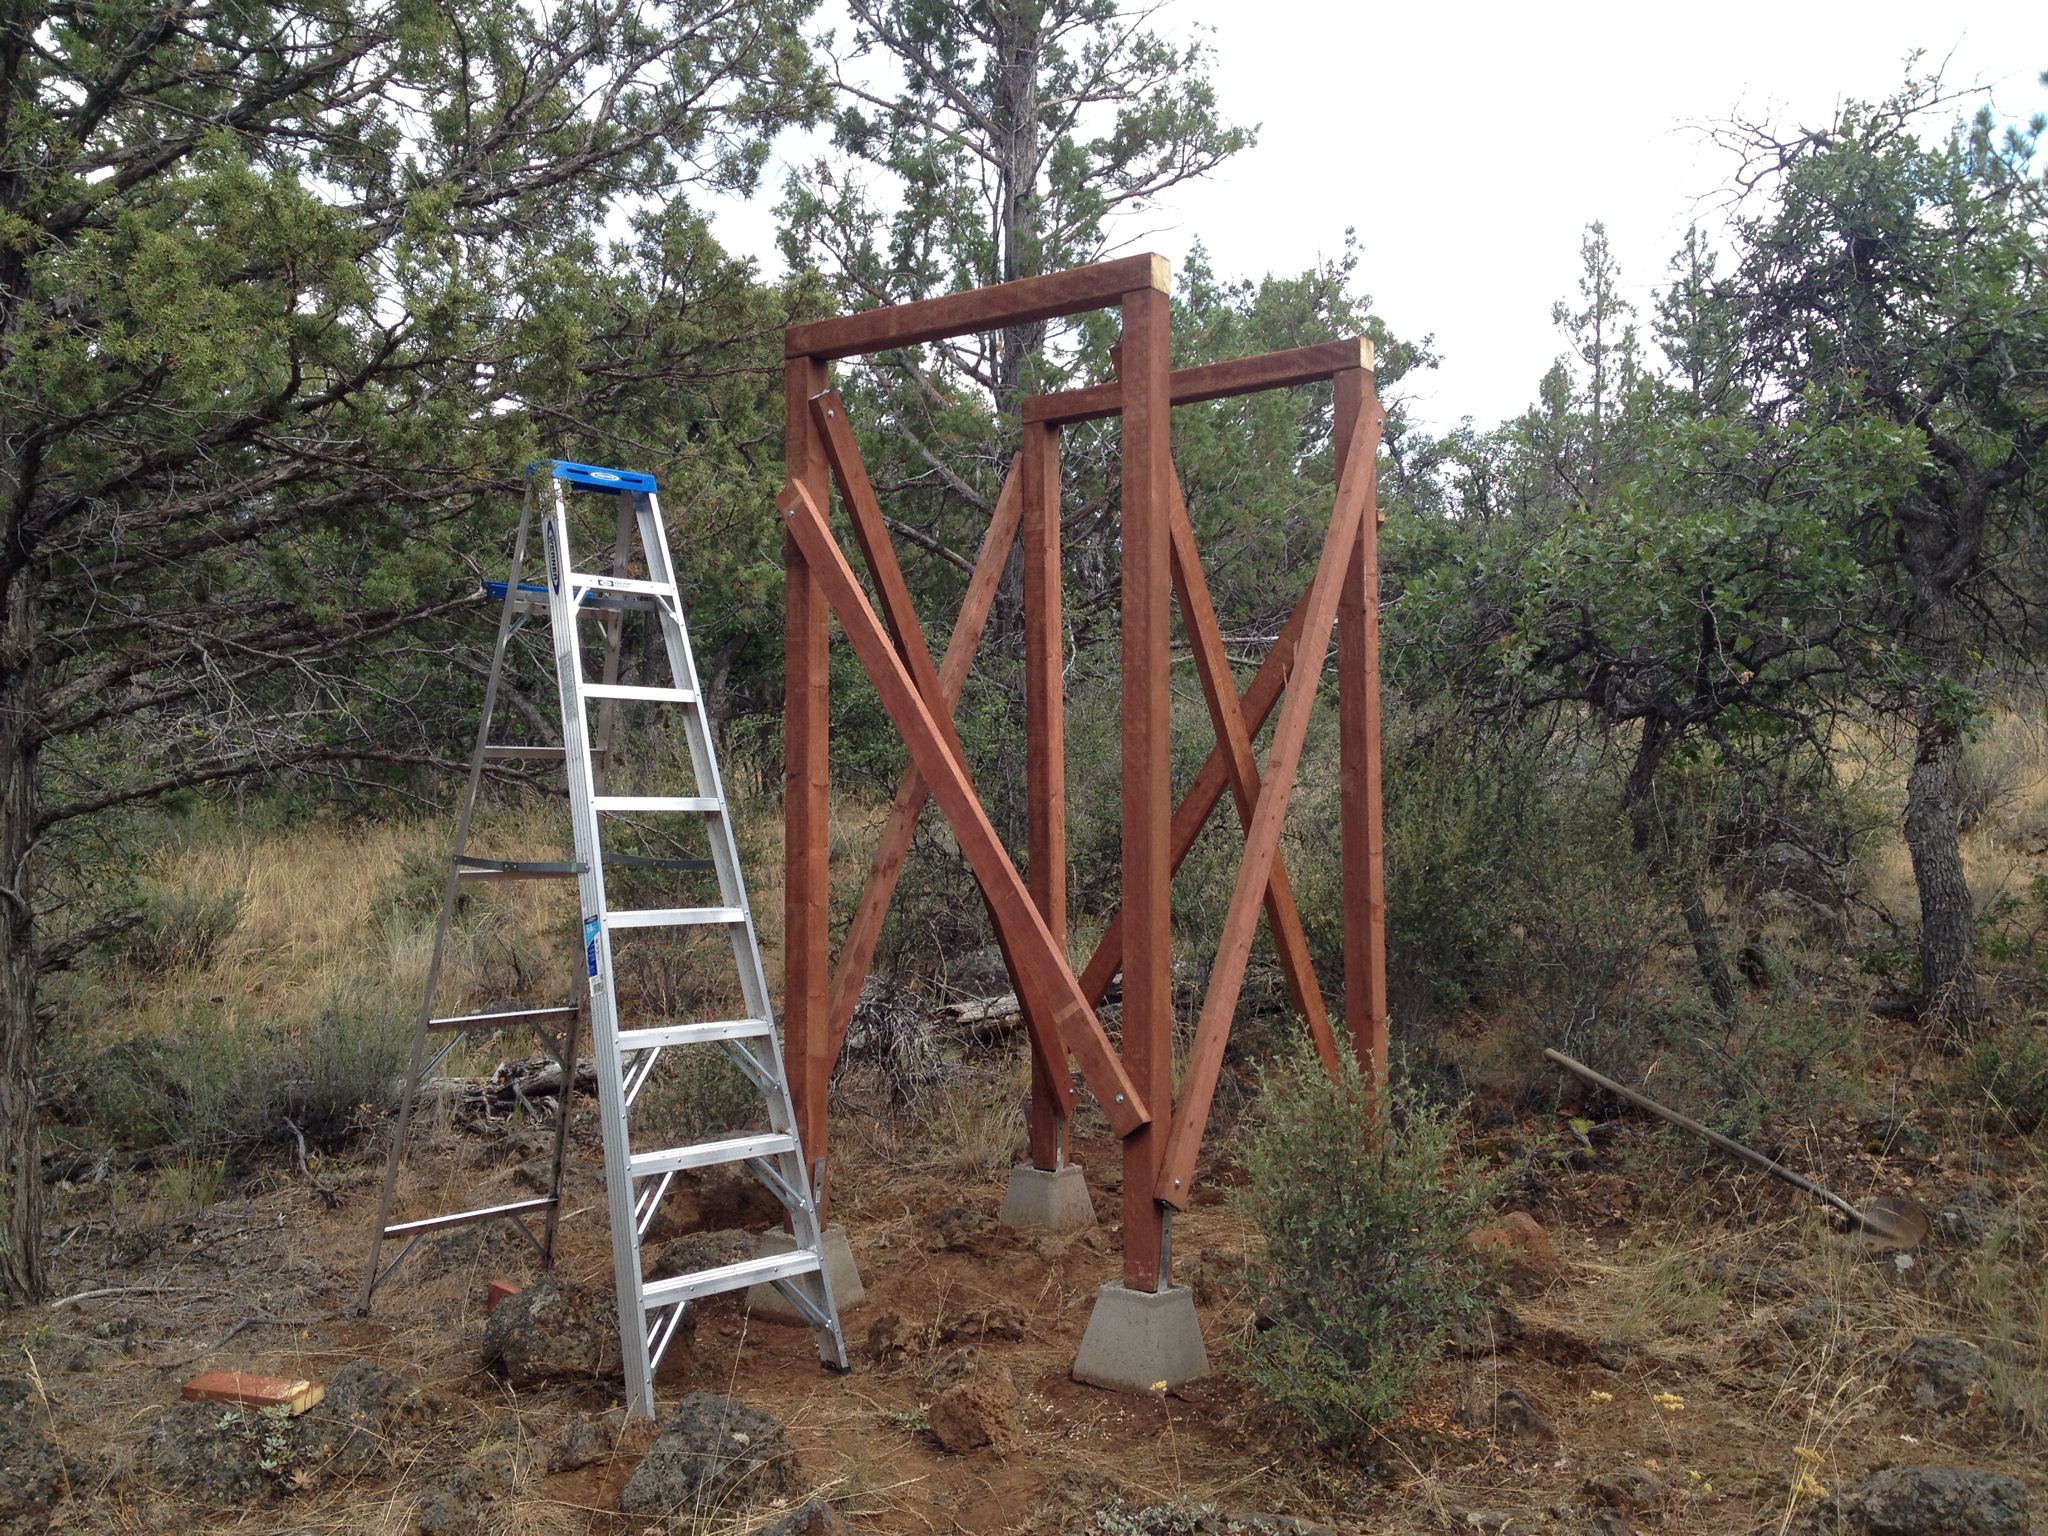
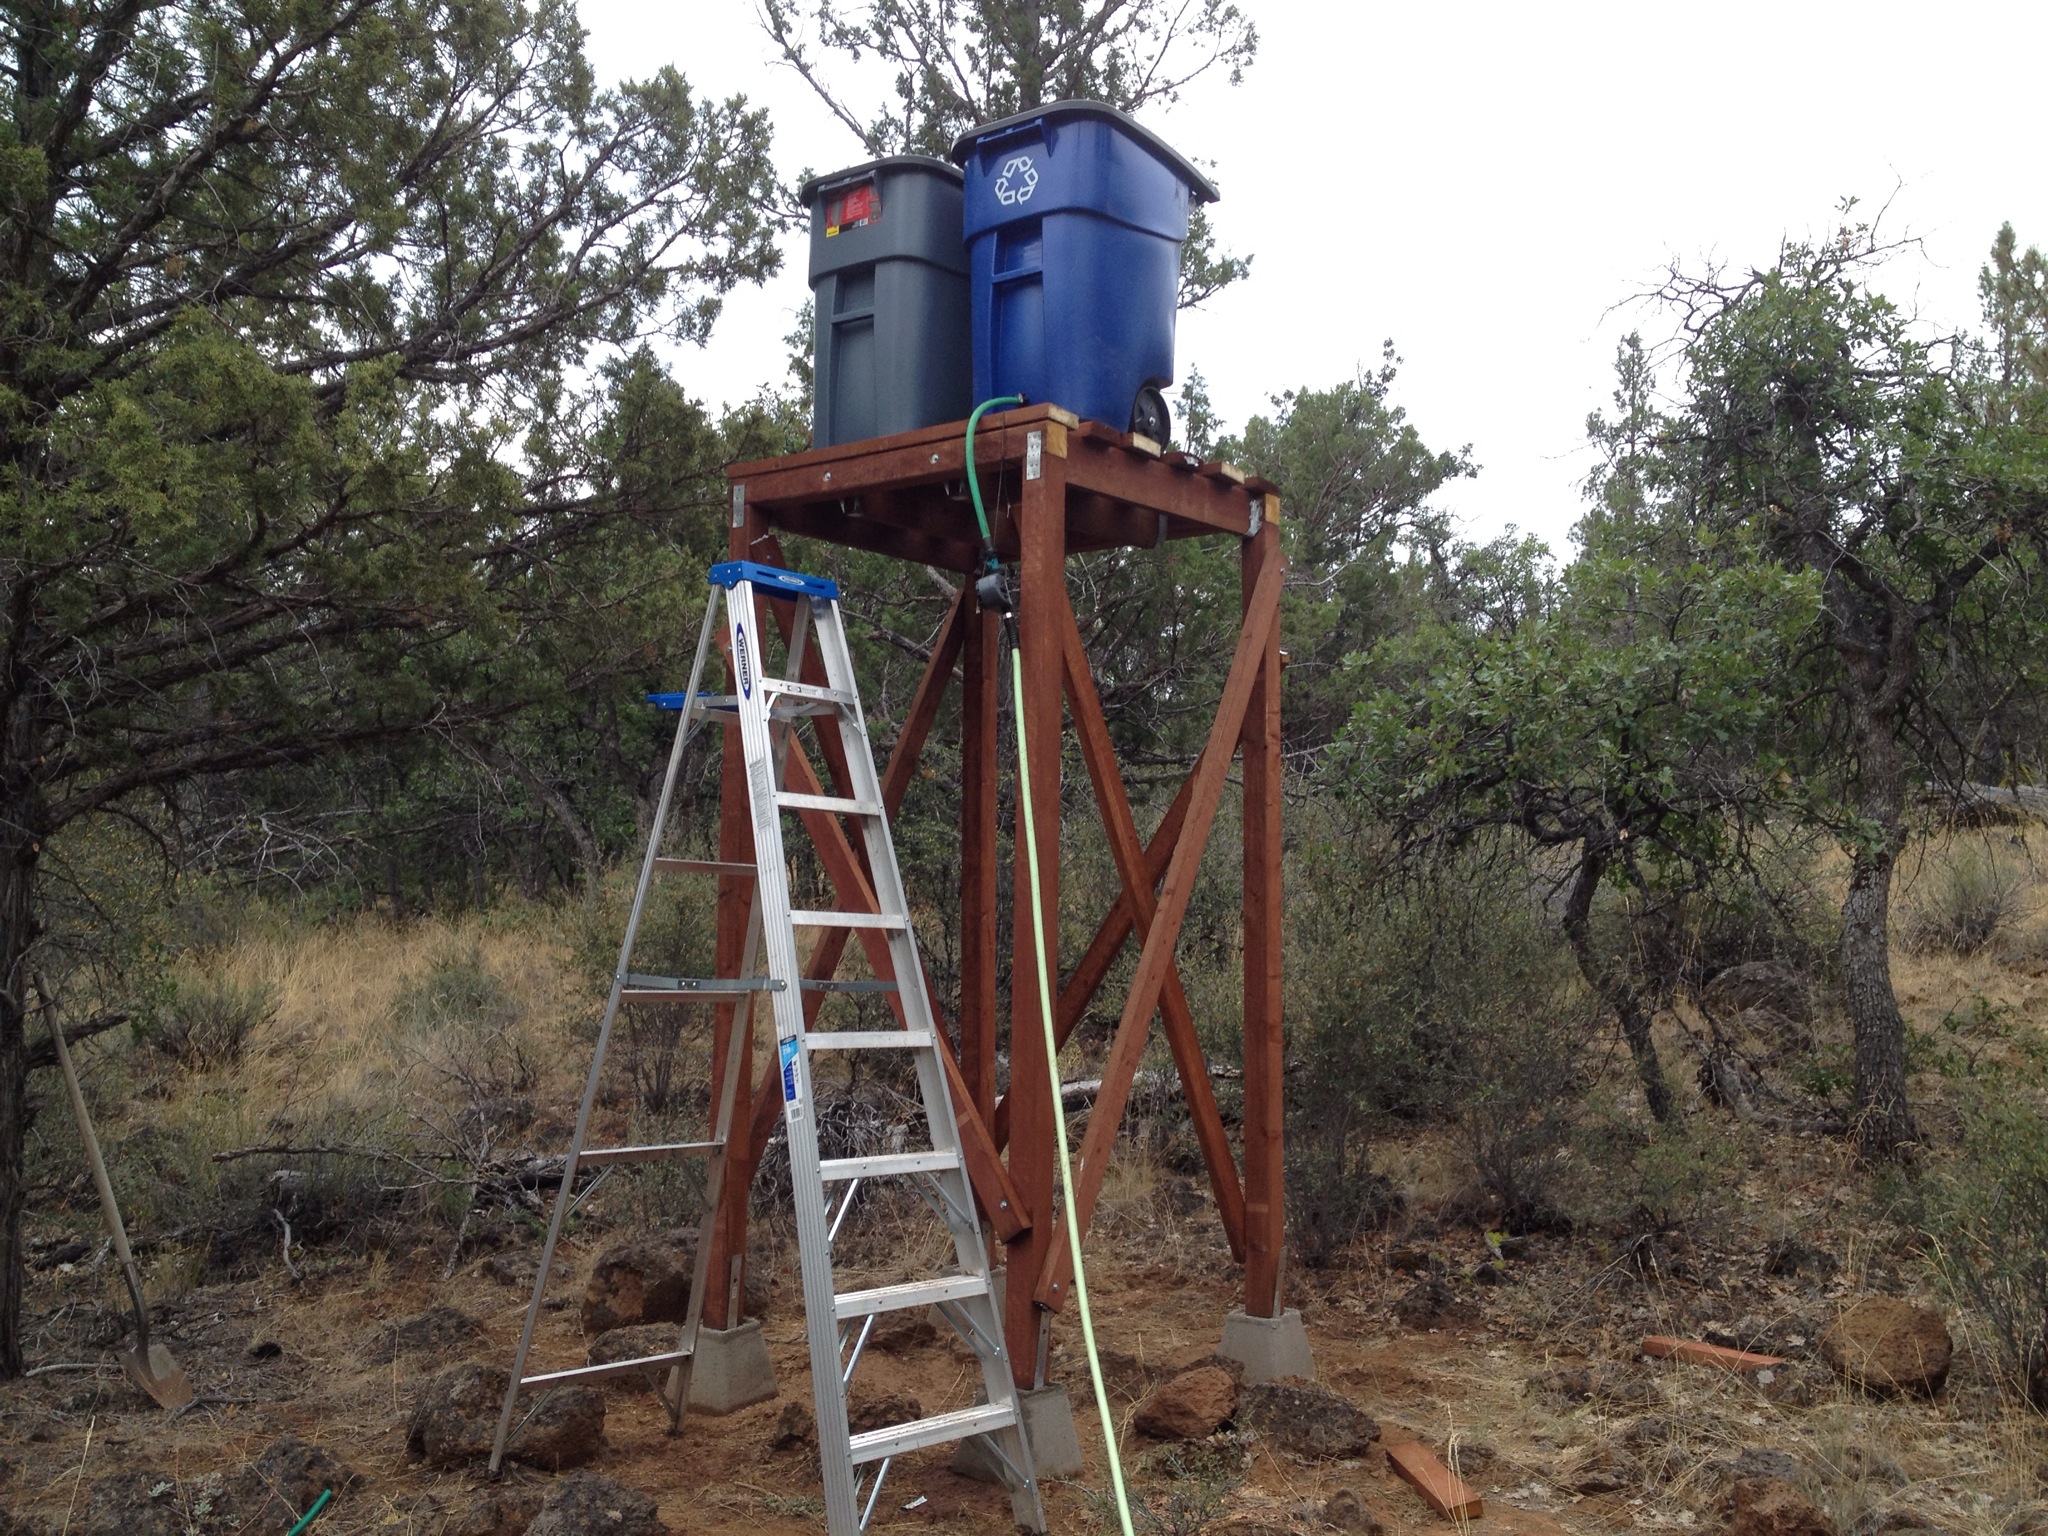
Perhaps one of the most noticeable physical characteristics of the community is its structures (see pictures). In addition to one large dorm-style two-story straw bale building, most members live in a wide variety of shelters, ranging from tents and converted busses and shacks, to beautiful and modest yet comfortably sized single family homes. What gives the place and its structures a distinct look is probably the combination of one of the covenants (that all structures use natural materials and locally harvested or reclaimed lumber) and the county’s lack of building codes. The covenant banning new lumber has practically forced folks to replace traditional stick-framed construction methods and factory-made materials with beautiful local natural materials, while the lack of building/zoning codes has allowed for experimentation and creativity. Since there are no codes to dictate minimum house sizes or densities, and there’s no requirement for homes to have road frontage, the village is densely inhabited but with enough green spaces and gardens interspersed such that it doesn’t feel crowded. I was also told that warrens (as plots of land are called there) and structures were planned specifically to encourage interaction among residents.

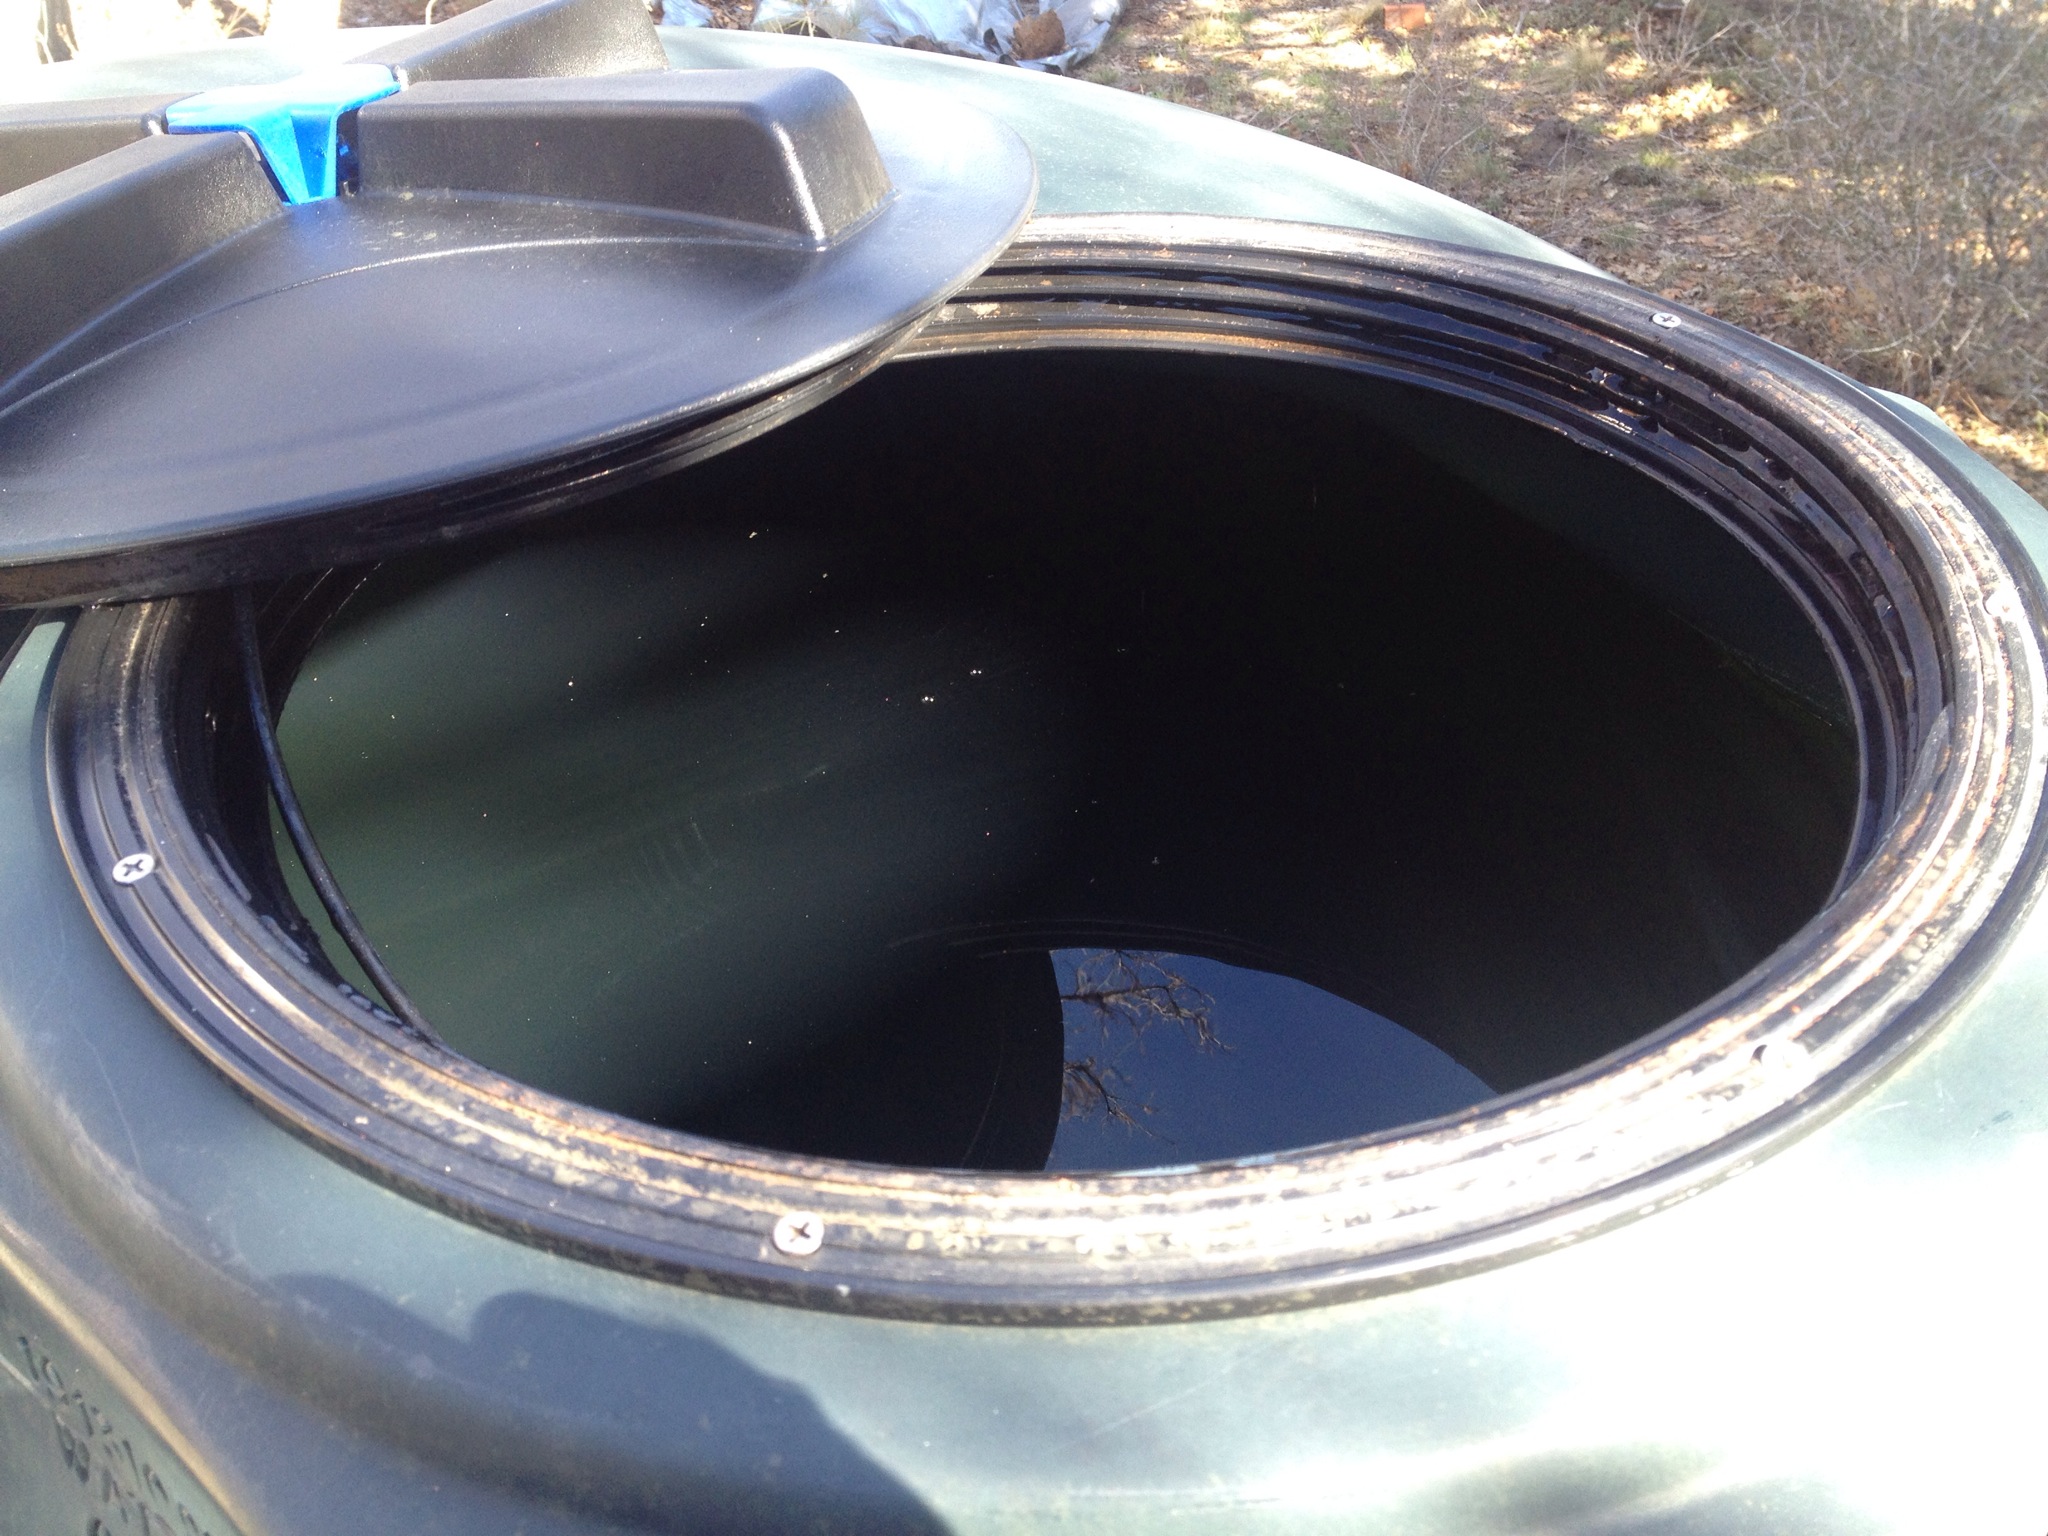
I was impressed with the community’s commitment to environmentally sustainable practices. Although the village is now hooked up to the electricity grid and city water, they are incredibly mindful of those resources. Most folks seem to be living off of harvested rainwater, and I heard the community generates 3-4x more electricity through solar panels and wind turbines than it uses (they got tied to the grid to be able to charge an electric vehicle, essentially using the grid as a buffer, which IMO is probably more environmentally friendly than the alternative: a big bank of lead-acid batteries). Some people use gas for cooking (though I did see quite a few solar ovens and a couple of cob ovens), but they rely on passive heating and locally harvested firewood for warmth in the winter. They also share just 4 cars among the entire village, and supposedly use something like 94% less fuel per person than the average American (on driving). Overall, other than the restrictions around building materials, the sustainability practices seemed quite similar to how I’ve lived on my property.

What impressed me most, though, about DR was the fact that the community functions at all, and has for almost two decades. It’s one thing to get a bunch of idealistic young hippies together in one place. It’s another to go from 6 to 60 people, and have a community in the middle of nowhere where people can live reasonably comfortable lives. Granted, even in my short stay, it was clear that not everything was peachy. The last of the original founders had just left indefinitely a few days before I got there, and I caught glimpses of some large disagreements about the future of the community. Nonetheless, it appeared that they had figured out an economic model and governance model that was functional and self-sustaining, which alone is quite impressive.

Since I mentioned it, I’ll try to briefly describe their economic and governance models. Keeping the cost of living low seems to be a priority, and most residents pay land use fees (I think on the order of tens of dollars a month, depending on home and lot sizes) as well as 2% of their income. Sources of income seemed to vary quite a bit: food stamps, trust funds, working in the village or for the nonprofit, working online, renting cabins, etc. The village and umbrella non-profit organization also makes money from hosting workshops and visitors, but it wasn’t clear how much that accounted for the village’s revenue. Other than that, people pay for their own needs, in some cases by buying into individual co-ops (for food, for transportation, for showers, for power, etc). As far as governance goes, they have an interesting streamlined version of a consensus-based model, where functional areas are broken into separate committees. The committees are responsible for taking proposals through a consensus-based process, but eliminates the need to have everybody in the village in the same room at the same time for all decisions. There’s also a village council and a system called “power levels” that delineates what kind of decisions can be made where (I think) but my understanding is murky on those areas.

***


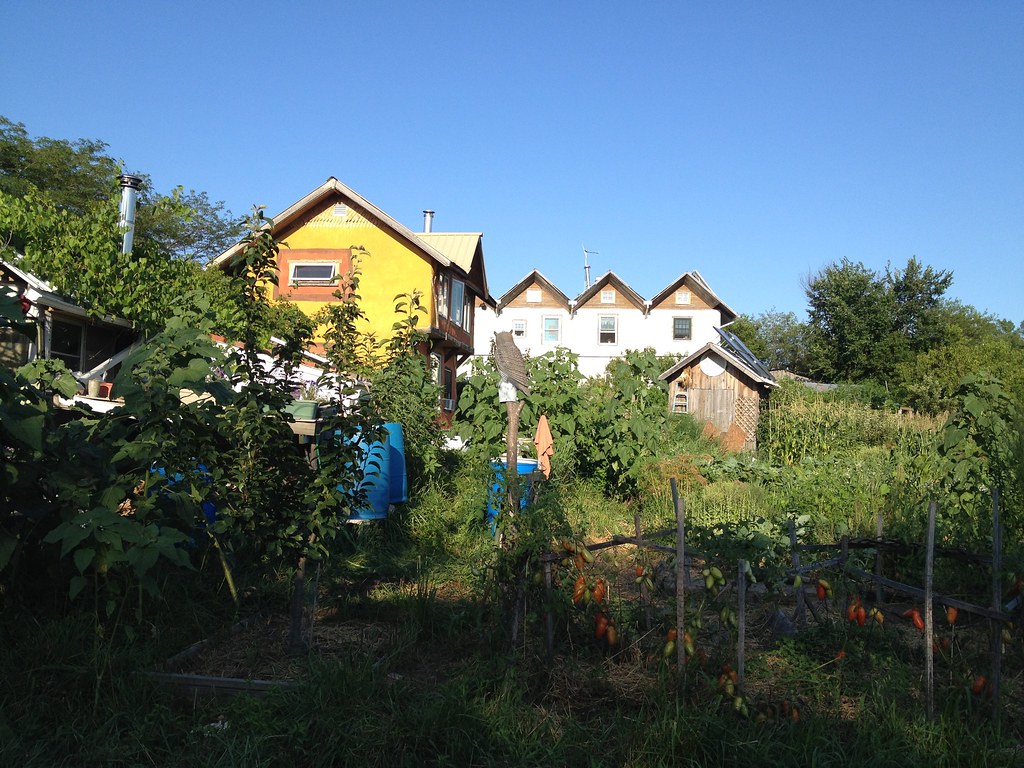
When I think back at what it was like there, this is what I experience in my mind: Wind turbines whir overhead, the sound intermixed with the laughter of children playing on the dirt paths as a couple of old dogs look on and a pair of ducks waddle by. The people seem relaxed, and happier. They stop to interact with each other. All around, we’re surrounded by the green hues of trees and gardens, the blue of the sky, and the bright yellows and oranges of colorful houses blending into the landscape with more crooked lines than straight ones. It’s pretty damn idyllic.

My first moments of arriving at DR reminded me of the trope often seen in post-apocalyptic narratives: the promised land where people live happily and peacefully, free of whatever ails the world around them. Here, I thought to myself, people live sane and sustainable lives, in community. It combined aspects of what I loved about living on my property, with what I’ve been searching for more recently: a community. It opened my mind and eyes in the way that my first Burning Man did; it made me realize that another kind of life and society was possible. I don’t know if DR, specifically, is my ideal. But it made my ideal a little bit less of an abstract dream, and more of a reality than it ever was.

Yet, when I step back, big questions also loom in my mind. As impressive as it is that this community that started with half a dozen dreamers has grown to a village with dozens of people, is this The Answer? Some folks at DR want to grow the village to a 1000 people, which seems like quite a challenge. And even if the model could be replicated 1000 times over, which, again, sounds like quite a challenge, that’s still only 1 million people out of the over 300 million people in our country. And, let’s not forget the rest of the world. There are around a billion people who live in rapidly developing countries where, over the coming years and decades, they may achieve the kind of affluence that will allow them to live increasingly energy and resource intensive lives. So, in the grand scheme of things, getting a large number of people to slightly change their behaviors might be far more impactful than getting a tiny number of people to live drastically different (albeit sustainable) lifestyles.

This conundrum may, in many ways, be at the root of my inability to choose definitively between a rural life and a life in the city. I am happier in a rural setting, and I want to live a lifestyle that is congruent and consistent with my values. But what draws me to the city, at least partially, is the promise to affect change from the belly of the beast. That is the promise of Silicon Valley and the San Francisco Bay Area: it’s the place where a great deal of technological, cultural and social changes were/are born and disseminated throughout the country and the world. Even Dancing Rabbit started there, before moving to Missouri. But, then again, Silicon Valley’s focus these days seems to have been redirected more towards getting rich quickly, rather than changing the world for the better. And I haven’t figured out how I can orient my skills and experiences to push for a more sustainable world in an impactful way. Perhaps nobody has.

I’m returning to Dancing Rabbit in October for their 3 week visitor program. My intention is to learn more about the inner workings of DR, and to also more fully experience life in an ecovillage. But, in the back (or front) of my mind will be this question about where and how I want to live, and how I want to orient myself to engage the world. I don’t expect to have answers. But I hope to have another piece or two to fit into the puzzle of my life.

I’ll be living in this cozy little “Summer Cabin” when I return in October!

Post-fire Report

IMG_3327

I just got back from 2 weeks in the desert (for Burning Man) and realized I never posted the “all clear” post, so here it is. My property was spared from the fire, though just barely. The picture above was taken just a few hundred yards from my property fence (and there was a spot fire just 50 yards from my fence), and when you consider that the fire started 5 miles away and burned 50,000 acres, that’s nothing short of a miracle (well, and firefighters doing a great job).

In the aftermath of this close call, I decided to invest in an Oregon 40V battery-powered chainsaw so I can clear more/bigger brush faster than I currently can with my 18V reciprocating saw. I’ve also been thinking about thinning out my pine trees to help them grow bigger and stronger, especially given current drought conditions. Normally, periodic natural fires would do the thinning, but I think that responsibility falls on me at this point.

IMG_3346

I’ve so far only used the chainsaw for one afternoon, but I’m pretty happy with it. The biggest piece I cut was a 9″ diameter fallen pine log, which it cut just fine. I also got a spare 4Ah/144Wh battery, and had no trouble keeping the chainsaw powered, though I also wasn’t using it constantly since I used my reciprocating saw for small branches. One advantage of an electric chainsaw is that it’s easy to start up, and it’s super quiet, which also makes it less scary to operate. Also, for sporadic use, it’s also nice that you don’t have to choose between idling a gas engine or stopping it and having to start it back up constantly. The biggest downside is cost: the chainsaw with two 4Ah batteries set me back $650. I decided it was worth it because I care a lot about not having tools that depend on gas, but for others, that might not be enough of a reason. It’s also somewhat underpowered if you actually plan on cutting down trees bigger than ~10″ in diameter. I’m also hoping to eventually mill my own lumber, and for that, I might get a corded electric chainsaw that I can run directly off my solar-battery array through an inverter.

Outdoor Gear for Infinite Power, Light, Water, and Fuel

I really liked the combination of gear I took with me on my recent backpacking trip, so I thought I’d do a post about it. It’s not a large amount of gear, but I had no trouble keeping my phone charged (for navigation) or running a reading light at night, and didn’t have to worry about running out of cooking fuel or clean water. Basically, just 5-6 pieces of gear took care of many of my basic needs, and could do so practically indefinitely, which I think is pretty cool. The post below covers many of the same points as the video above, along with links to the products I talked about.

(Disclaimer: I’m the founder/owner of BootstrapSolar. I am otherwise unaffiliated with the other products/companies discussed, and these are my personal opinion.)

  • BootstrapSolar Chi-qoo – I designed this myself, so of course I like it. But, specifically, what I like is the compact but powerful 5W solar panel, which can be mounted on top of my pack to gather sun when it’s high in the sky. Many competing designs will have solar panels mounted vertically on the back of the pack, which doesn’t get as much exposure. Also, I think 5W is the right size. Anything smaller and you won’t generate enough power. Anything larger and you won’t be able to mount it on the top of the pack and so you won’t actually get as much power. The charger also has a nice big 6000mAh/22Wh battery pack, so a full charge will give you 3+ recharges of a smartphone right off the bat. I also like that the battery pack has 2 USB ports, so you can recharge/power up to two devices simultaneously.
  • Steripen Ultra – I carried 3 forms of water sanitization (not counting boiling) and the Steripen is, in some ways, the one I trusted most because it can kill things filters can’t get. Filters generally don’t effectively remove viruses because they’re too small, though they can be destroyed by the Steripen’s UV light. The only downside is that it takes 1.5 minutes to sterilize a liter, and when you’re filtering 6 liters every morning, it can be a drag to sit there stirring that pen. On the other hand, unlike filters that eventually need to be replaced, the Steripen will keep going as long as you have power.
  • Bosavi Headlamp – In the past, I used a cheap headlamp that ran off of AAA batteries, but keeping those batteries recharged was a pain (in addition to requiring a separate battery charger). So I went looking for a headlamp that could be charged from the Chi-qoo’s USB port, and found the Bosavi. It’s got a bunch of different settings, including 2 different types of white light and one red LED, but… yeah, it’s a headlamp. It works. I can keep it recharged indefinitely. That’s good enough for me.
  • GoalZero Luna USB lamp – At night, I used the Luna in my tent to read a book (yeah, how decadent!) or study the map to plan the next day’s hike. It runs beautifully from one of the Chi-qoo’s USB ports, and it’s bright enough to read with without any discomfort. The bendy cable/neck is a pretty useful feature too, so I could plug it into my battery pack and put it on the floor or in a side pocket in the tent, then reorient the light as I wanted.

    Mmmm… water!

  • Platypus Gravityworks water filter – All my water first got filtered through this filter before being sterilized with the Steripen. Unlike some other water filters out there, the Gravityworks works using gravity (surprise!) rather than some hand pumping action. This is obviously much easier, but I had to learn some tricks to get it to flow well (e.g. once hooked up, you first have to reverse the system to get air bubbles out of the filter, and occasionally it seems to help to reverse clean water through the filter to remove gunk). The other minor gotcha is the pouch. It’s really difficult to fill the pouch from shallow water sources, so I carried an empty plastic bottle to collect water and pour into the pouch. Also, just a note of caution: if you’re filtering pond water like what you see above, the filter will not make it clear. I didn’t realize this until I got back to my cabin and poured some of my filtered pond water into a white mug…
  • BioLite stove – I really like the BioLite stove. It’s basically a portable rocket stove that has its own thermal electric generator to power a fan. I like the BioLite + Chiqoo combo because some things (like the Steripen) won’t always charge directly from the BioLite, probably because the BioLite won’t always output enough amperage. But the Chiqoo is designed to charge off of unstable power sources (like solar panels) so it’ll happily take whatever the BioLite can output. As far as backpacking stoves go, the BioLite is heavier than many modern gas-powered backpacking stoves, but then, if you’re in the woods, you don’t have to worry about running out of fuel, so that’s a pretty big plus. It could be tricky to get going (I found that tipping it sideways to get the kindling going, then turning on the fan and setting it upright works best), but once it’s going, it burns very hot and very cleanly, thanks to the rocket stove principle. I also use it as a mini-campfire at night, so I’ll just sit there and zone out while throwing sticks into the fire and staring at the flames. Caution: If you use one of these, I would strongly recommend having s’mores ingredients handy, or you’ll wish you did.

    BioLite charging a Chiqoo

1000 Gallon Tank, Evapotranspiration, and Other News

20131202-194806.jpg

I can’t believe it’s already December! This year definitely flew by… and now I only have a month left to try and beat last year’s abysmal blogging record of 4 posts for the year. Good news is, with this post, I’m up to 2 for the year, so I’ll only need to squeeze in a few more this month to beat that.

It’s been a quiet year in Serenity Valley. I’m spending most of my time working in the city, so I only get to go up there every now and then. On the other hand, all this working allowed me to keep paying the bills, and I’m happy to say that I finished paying off the property this summer. So, from here on out, as long as I can afford to pay the $500 or so a year in property taxes, I’ll have a patch of ground I can call home. Having grown up moving from place to place and never feeling like I had a home, it’s tremendously gratifying and comforting to know that there’s a place on this earth that is mine; a place I can go to at any time; a place nobody can take away; and hopefully at some point in the future, a place that can sustain my basic needs (it already provides free shelter, free electricity and nearly infinite heating fuel — which is more than you can say about most homes).

Speaking of home, both structures have faired well so far. Hut 1.0 is going into its 5th winter, and it’s still looking about as good (or shabby) as new, at least on the outside. On the inside, though, a few gaps that opened up in the walls have given the local mice community a free run of the place. I still use the hut for storage, and set up traps every now and then as token resistance against the invaders, but I fear it’s a losing battle. Nonetheless, given that the original intended lifespan of the structure was 5 years, I’m happy it’s still standing and in as good of a physical shape as it’s in.

Hut 2.1 is doing very well going into its 4th winter. Unlike Hut 1.0, 2.1 has been remarkably free of mice, and is doing quite well structurally. The dry climate certainly helps keep all the wood in good condition, and I’ve recently started adding some braces in the corners as seismic reinforcements. About the only thing that’ll destroy the structure is a forest fire (or carpenter ants), but other than that, it’s probably not unreasonable to expect the structure to stand for a couple of decades or more. It’s pretty remarkable what you can build for so little money…

Other than paying down debt, I’ve also started putting money into various improvements as well. The 300 gallon rain barrel I wrote about in the previous post this Spring was one such improvement. And more recently, after watching water slowly (very, slowly) accumulate in that 300 gallon tank over the course of the (very dry) year, I decided to expand my water collection system by adding a 1000 gallon tank.

I’m still not completely done hooking everything up, but I’m already starting to dream about what I could do with all this water (assuming there’s enough precipitation to fill the tanks this winter). I know, 1300 gallons isn’t that much water in the grand scheme of things, but it’s far more water than I’ve ever had on this property. My meagre attempt of a garden back in 2010 was irrigated from a 50 gallon tank, which I was only able to re-fill every other week, and that wasn’t enough water for most of the plants. At 3 gallons per plant per week, 1300 gallons would be enough for over 400 plant-weeks (or 20 plants for a 20 week period). That’s certainly a far cry from achieving self-sufficiency, but it’s enough to at least start experimenting in earnest.

Incidentally, you may wonder where that aforementioned “3 gallon per plant” figure came from. Well, I said I’ve been “dreaming” about what to do with all that water, but actually, said dreaming has included some actual research into plants and water usage (a topic I knew nothing about — for some reason, they didn’t teach us this stuff in any of my computer science classes). As it turns out, the amount of irrigation a plant requires is largely a function of “evapotranspiration” (ET), which is a combination of soil moisture evaporation and plant transpiration. As you may imagine, ET is affected by things like temperature, humidity, soil, the size of the plant and many other factors, so it gets pretty complicated pretty quickly. There’s a formula called the Penman equation which can be used to estimate ET (here’s a handy dandy online Penman calculator), but that’s more for estimating ET over an area of land. If using drip-irrigation as I have, (and would in the future) you really want to know how many gallons of water each plant should receive. For that, I found this nifty water-usage table by plant size and climate (the same site has a great page on irrigation in general), and according to that table, it looks like a small plant or shrub would use somewhere around 0.2 ~ 0.75 gallons of water per day during the hottest days of the year. That translates to 1.4 ~ 5 gallons per week, so I decided to call it an average of around 3 gallons.

One last project for the year is to build a covered deck in front of the cabin, which will further expand my rain/snow collection surface. But I’ll talk about that in another post… For now, I’ll leave you with some pictures of the 1000 gallon tank.

20131202-194915.jpg
U-Haul trucks are for moving things, right?

20131202-194956.jpg
The frame of the octagonal base.

20131202-194935.jpg
A little trig goes a long ways…

20131202-195045.jpg
The octagon was filled with gravel to create an even and level surface…

20131202-195117.jpg
The tank on the base. You can’t see it in the picture, but there’s a layer of OSB between the gravel and tank.

Rain Barrel!

I finally got around to setting up the rain barrel I bought last year. The wet season only lasts a couple more months, but hopefully I’ll be able to harvest some water to help keep my cherry tree watered during the dry months. In any case, I’ll tell this story with pictures, so… here we go!

Bits and pieces. Let’s hope I have everything!
20130211-211739.jpg
Putting up the gutters. I intentionally hung them low so that snow would slide off without snagging them. I may eventually put rails on the roof to keep the snow there so that I can collect more water as it melts. I’ll need to assess whether the additional load on the roof will cause problems. I also set these up on the south side so that exposure to the sun willl hopefully keep things from freezing too badly.
20130211-211750.jpg
Gutters and downspout all finished. Part way down the downspout is the RainReserve rain diverter. Instead of diverting everything, it captures water that falls along the interior sides of the downspout, while allowing bigger pieces of debris (like leaves) to fall through. Or so the theory goes…
20130211-211809.jpg
Building a platform for the rain barrel, using the only flat surface within a half-mile radius.
20130211-211821.jpg
Setting up the base. One side sits on cement blocks, while the other side sits on ice and rocks. It’s what we call MGEP (Mostly Good Enough, Probably) — the impeccable standard to which things are built on Serenity Valley. Actually, I’m not entirely confident it’ll support the weight of a full 300gal tank (2400lb). I guess we’ll find out!
20130211-211958.jpg
Ta-da!!
20130211-211844.jpg
Close-up of the rain diverter and tank hookup. The green hose is the overflow, which could also be hooked up to a second tank.
20130211-211853.jpg

BootstrapSolar needs your support!

In my previous post, I mentioned that I was working on a solar power pack. I’ve since completed the prototype and tested it, so I’m almost ready for production. But in order to get there, I could use some help…

My solar power pack contains a 6000mAh LiPoly battery, big enough to recharge an iPhone four times over (or an iPad up to about 70%). It has two USB ports, of which one is configured to support Apple devices with output up to 1000mA (that’s equivalent to the iPhone’s AC adapter). The kit also comes with a 5W monocrystalline solar panel which can generate enough power to completely recharge an iPhone in two hours. Furthermore, the power packs can support up to 10W of solar panels for heavy users (or cloudy days). And it’s enclosed in a bamboo enclosure, which is a much more sustainable material than the plastics commonly used.

Basically, I built what I wanted for myself. It’s the kit I wish I had in Japan. It’s the kit I wish folks had in Japan in the days that followed the earthquake and tsunami when the power was out. I took this kit with me to Burning Man, and wished everybody had one.

Right now, I’m in the process of raising funds to pay for a small production run. The Kickstarter campaign that I started two days ago already has over $3000 in pledges, though I need $7500 for the campaign to finish successfully and to start production. If you’re interested in a kit, you can “reserve” one by pledging $90 or above, which is substantially less than what the final retail price will probably be (or how much you’d pay for a similar commercial product). Of course, even if you’re not interested in a kit for yourself, I’d appreciate any help getting the word out as well. Also, if this kit succeeds, it’ll give me the funds to work on other kits, so you’ll be supporting a larger project that aims to make solar technology available and accessible to more people. So, any support would be greatly appreciated, whether it’s a pledge on Kickstarter, or a simple “Like”.

Thanks!

Be Prepared

I’ve been obsessively following the latest news from the devastating earthquake that struck off the coast of Japan a few days ago, listening to internet streams of NHK radio, the public broadcasting service there, which has been covering the aftermath non-stop. My family in Tokyo were shaken but otherwise perfectly ok, though early reports of wounded literally blocks from my parents’ condo did have me somewhat concerned.

The M9.0 earthquake, possibly the 5th largest earthquake in recorded history, wreaked havoc across a wide swath of Japan’s north-eastern coast when it triggered massive tsunamis, some reportedly over 30ft high and reaching the 4th floor of buildings. This veritable wall of water traveled at speeds exceeding 20ft/second, and reached 10km (6 miles) in-land in places, sweeping away with it houses, cars, trains and people and pretty much anything not made of reinforced concrete. In addition to the sheer size of the waves, they also struck a mere 10 minutes after the initial quake (which itself lasted 5 minutes), leaving people with little time to evacuate in those affected areas. There are beaches where hundreds of bodies have washed up, and cities where over half the residents are unaccounted for. One prefecture alone is expecting a death toll in excess of 10,000.

However, help is on the way. One of the largest relief efforts, possibly in the history of the developed world, is converging on north-eastern Japan. Half a dozen countries, including New Zealand, Britain, Germany, France, Singapore, and China have rescue workers and medical teams en route. In addition to the 50,000 Japanese Self Defense Forces troops activated previously, another 50,000 were called up today for a total of 100,000 soldiers. Off the coast, an aircraft carrier, the USS Ronald Reagan, and a couple of destroyers of the US Navy have arrived to assist in rescue and relief operations, and I’ve read reports that the Marines may use amphibious landing vessels to deliver aid.

I think this particular disaster is worth following for those of us in the developed world, because there are already lessons we could learn. Japan is a wealthy and technologically advanced nation, and one which has spent considerable time, effort and resources in preparing for earthquakes. For instance, the high-rise condo my parents live in in Tokyo has elevators equipped with P-wave sensors that stop elevators at the nearest floor before the main quakes strike (P-waves travel at the speed of sound, and therefore move ahead of the actual earth-moving waves). Japan’s high speed rail service which travels at speeds exceeding 180mph are also similarly equipped, and suffered no casualties in this quake. Emergency broadcasts on TV can also warn viewers of incoming earthquakes, often before they actually can be felt. These are just a few examples of technologies available in Japan that I haven’t even seen in California — an equally quake-prone region.

Yet, as we watched the devastation spreading, it also became clear that there are limits to what technology can do. There are also limits to what the government can do. No doubt, this earthquake and the resulting tsunami was a hellish scenario that would’ve been difficult to prepare for or defend against. For many, escape simply was not an option. Sometimes, Nature wins.

But, as the country enters its 3rd night, a new kind of tragedy is unfolding. At one point, the radio announcer interviewed someone at an evacuation center, who painted a desperate picture: people huddled on rooftops with few blankets, no drinking water, no food, dwindling supply of medicine for the sick. The man ended with a desperate plea for supplies. From other reports, it seemed that many other isolated evacuation centers faced similar conditions. The suffering I heard about from survivors is a different kind of tragedy to the original disaster; one that might’ve been prevented, or at least eased significantly, with a little preparation.

If there’s one obvious lesson we could learn, it’s that the best preparation happens locally, starting with the individual on out. Every household should have a stockpile of food and water to last at least a week. In the event that evacuation is necessary, there should be a go-bag, equipped with essentials like food and water, emergency blankets, flashlights, a radio, spare batteries and cash. I’m hearing that flashlights are selling out in Tokyo, and if people don’t have flashlights, it seems even less likely that they have go-bags. Failing that (or to augment that), designated evacuation centers should be stocked with enough food, water, emergency blankets and other basic supplies to last at least a few days. While communication networks appear largely operational even in the worst hit areas, without power, people are unable to use their cell phones once their batteries run out (pay phones have become free, though long queues have been reported). This is a problem that could easily be solved by a few hundred dollars worth of solar panels mounted at each evacuation center, which could provide more than enough power to keep dozens of phones charged (or, at the individual level, a cheap $30 kit).

We’ve seen disaster victims suffer unnecessarily in a developed nation before, with Katrina. Even though the Superdome was designated as an evacuation center, it wasn’t stocked with necessary supplies. Prevailing emergency plans seem to be:

Step 1 – Get people to evacuation centers.
Step 2 – Wing it.

While I would not fault the Japanese government’s response by any means (which, if anything has been extraordinary, especially compared to FEMA during Katrina), the reality seems to be that Step 2 is challenging, even with the best of intentions. The reality is, getting supplies to masses after a catastrophic and unpredictable disaster is so much harder than prepositioning those same supplies when roads, airfields, and ports are accessible.

Better preparation can also save money, in addition to easing suffering of those affected. It costs a lot of money to activate troops and deploy helicopters. Supplies may simply cost more after disasters, since, after all, Econ 101 taught us that prices go up when demand goes up. It also may be harder to negotiate reasonable prices when desperate people are waiting.

Basic preparation such as those I outlined could also save lives. All day today, the radio reported of evacuees being air lifted from evacuation centers that lacked supplies to actually act as short-term emergency shelters. If those evacuation centers had been better stocked, those helicopters might’ve been better employed rescuing those who could really use help, like the 67 year old lady who clung to a tree for 15 hours after being swept away by a tsunami.

It is a pity that human nature seems to be deprived of foresight, and that it takes such tragedy to be reminded of our frailty. Even then, little may be done as a society, or even as a community. It is unlikely that we’ll be able to get politicians to increase funding for disaster preparedness, or that you could get stockpiles set up at the local shelter. But as individuals, we can learn and act. Tomorrow, it may be you and I, and what we do today could make all the difference. Be prepared.